
If you want your files to look like medium format images, then you should try to stay away from the Levels command. Regardless of what tutorials you see out there that say 'set the levels'.
Here is why:
- The Level's command makes the tonal transitions more sudden, and therefore harder.
- Tones that had soft graduations become harder as you move the left and right level adjusters towards the middle.
- You are in effect adding contrast to the image, and that by definition means the tonal responses in your file become more sudden, and therefore harder.

I only use the Levels command occasionally and never at the beginning of an editing session. It is a blunt tool which applies itself globally, and although is useful for fine-tuning a completed picture where the tonal relationships need to remain intact, is a recipe for disaster if it's used at the beginning of the session.
Indeed, global edits should be shied away from until the very end of your editing sessions, because global edits are lazy edits. I have rarely ever found an image that I can adjust the entire picture with one edit and if I've believed so, it is usually due to an oversight about what is really going on in the picture.
Photographs need to be approached sensitively. You need to work on each individual area that you wish to either bring forward or suppress. Attempting to do this with one global edit won't give you the best results and you'll only nail things down that shouldn't be touched.
If the edit session is just starting out, you need to keep the file as soft as possible, and only introduce depth or contrast in local areas. It is this 'contrast' between soft areas and hard areas, or unedited and edited areas that will give your images the contrasts you seek, whilst retaining smooth tones.
But! you say; 'I wish to make the image more punchy, and make sure I'm using the full tonal range of tones from absolute black to white in my prints. Shouldn't I use the level's for this?'
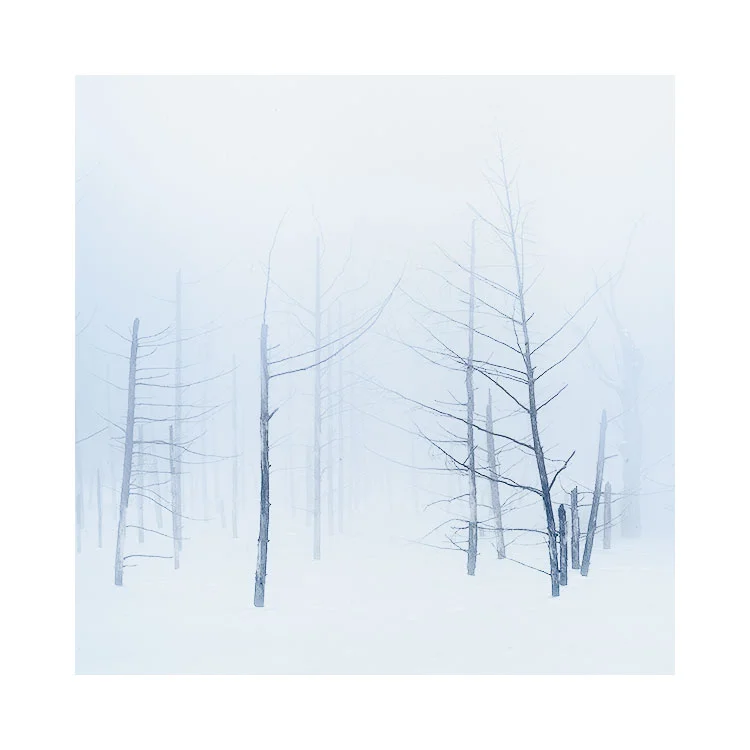
No. Not every scene you work on requires the full-tonal range approach. Some images may have softer qualities, and don't use the full tonal range available. Consider the images in this post today. If you open them in Photoshop and go around with the Curve Hand-tool and inspect the tones, you won't find any absolute blacks in these. They don't need them, and to have make them more punchy would have killed the tonal response that was present in the scene.
Globally adding contrast to a picture is to apply the same brush to everything. It's a very blunt way of trying to bring presence to a photograph. It also means you aren't reading the contents of your images or that you understand what is going on in them.
Selectively choose the areas you wish to emphasise, and leave the others alone. Good images have quiet areas as well as loud areas, whereas badly edited images often suffer from everything vying for your attention.
If you wish your images to have more punch to them, the best way to do that is to keep some areas of it soft, so that the more harder areas have something to contrast against. That means using local edits, and it also means individually adding or reducing presence selectively. If you do this correctly, you'll find that your images retain their smooth tonal responses while also having presence. But by starting off by setting the Levels in your picture and therefore making all the tones in the picture harder, you leave yourself no room to manoeuvre and there is no room for your editing session to grow.