
This article relates to RAW conversion, and also film scanning. Although I may refer to film scanning most of the time, you should take into consideration that this applies to RAW conversion also. It’s just that I’m a film shooter, but the concepts still apply if you are a digital shooter.
RAW conversion is important because it is the foundation which all your subsequent edits are built upon. If you start with an image that has too much contrast in it, then you’ll be fighting a losing battle in trying to make some parts of the scene calmer later on in the edit.
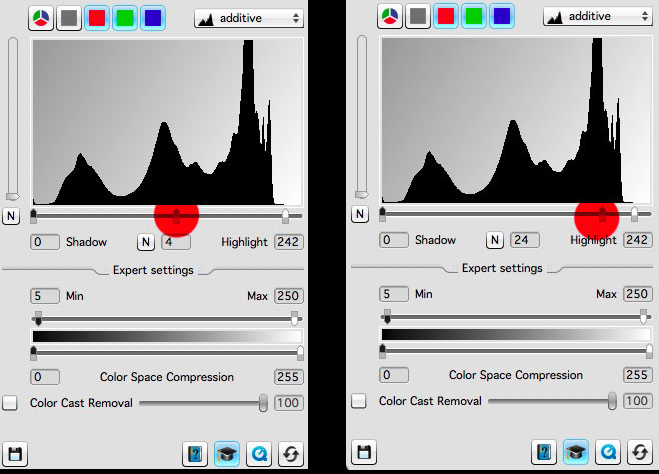
In my scanner software, I’ve chosen to move the mid tone slider to the far right. I get much brighter, and softer scans from this. It’s a really great setting for snow or bright scenes and it keeps the tonal graduations smooth and soft.
Setting exposure in a film scanner is an art. You need to learn to use the exposure control to give you the file you want.
My theory and working practice is to try to keep the RAW file as soft and flat as possible. If you start with a soft file, you can always add contrast to local areas of the scene later on. But it’s often impossible to do it the other way round. Start with a contrasty file and try to reduce the contrast in certain areas often has unbelievable and displeasing results.
If I were a digital shooter I would use the black and white sliders sparingly. I would also adopt a view that RAW conversion is not about “pumping up the file to get an all-in-one punchy look”. That’s a dangerous road to go down, and unfortunately, it’s the road that many take.
“RAW conversion should be about setting a minimal baseline from which to work with. But it should be also just as importantly about maintaining the smoothest, softest tones you can keep in your file. By cranking up the blacks and whites in the conversion or applying some camera profile such as ‘vivid’ or ‘landscape you are just going to make the tones within the image much more contrasty and 'hard' looking. All those beautiful soft tones will be obliterated in a couple of clicks.
The same is true for film scanning. When I scan, I never use the auto-exposure feature because it’s assumption is that the file will look much better if the blacks and whites are clipped by a percentage and the tonal range is compressed to look punchy. I’m sure the assumption by ‘Auto-Exposure’ is to try to get the file looking strong as soon as possible. But it’s a clumsy way to work.
Once it’s baked in, it’s baked in. Working with a badly exposed film scan won’t get me anywhere.
“I am often trying to keep the contrasts low and sometimes the mid point of the levels command is pushed to the far right to brighten up the exposure while maintaining low contrast.
In summary, going for the “let’s get the image looking close to where we want” approach at the beginning of RAW conversion is , in my view, bad practice. There is nowhere to go after you do this. The cake is baked before you got the chance to do anything with it.
“Your approach should be for local contrast adjustment. By applying contrast selectively to areas of the image you maintain smooth tones while introducing the perception of punch in the image.
You need to have latitude in your file to leave areas of it soft and be able to punch up the contrast where you feel it’s needed. Applying global contrast in one swoop may feel like you’ve got to where you need to go, but you do so at the cost of sabotaging areas of the picture that need a more delicate approach.
It’s just plain clumsy, a bit like the spray-and-pray attitude of firing the shutter and hoping that one image will be a good keeper. Image editing is a skill. It’s an art. It’s just as important as image composition out in the field, and an area that with the wrong approach can kill fine images.