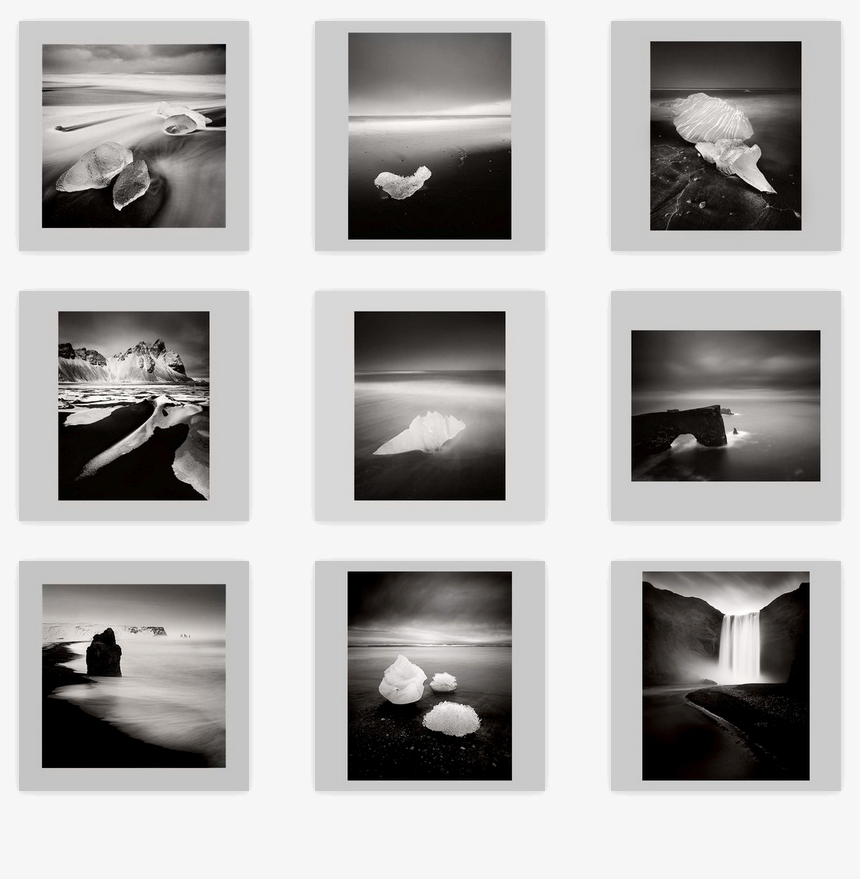
I've spent a bit of time over the past few months researching black & white printing. Until this year, I had deliberately stayed away from monochrome work as I feel that it is a very different space in which to work. It is also an extremely difficult medium to master because any tonal errors or tonal distractions are more evident in the work. With colour, tonal errors are less critical because we have the added distraction of colour.
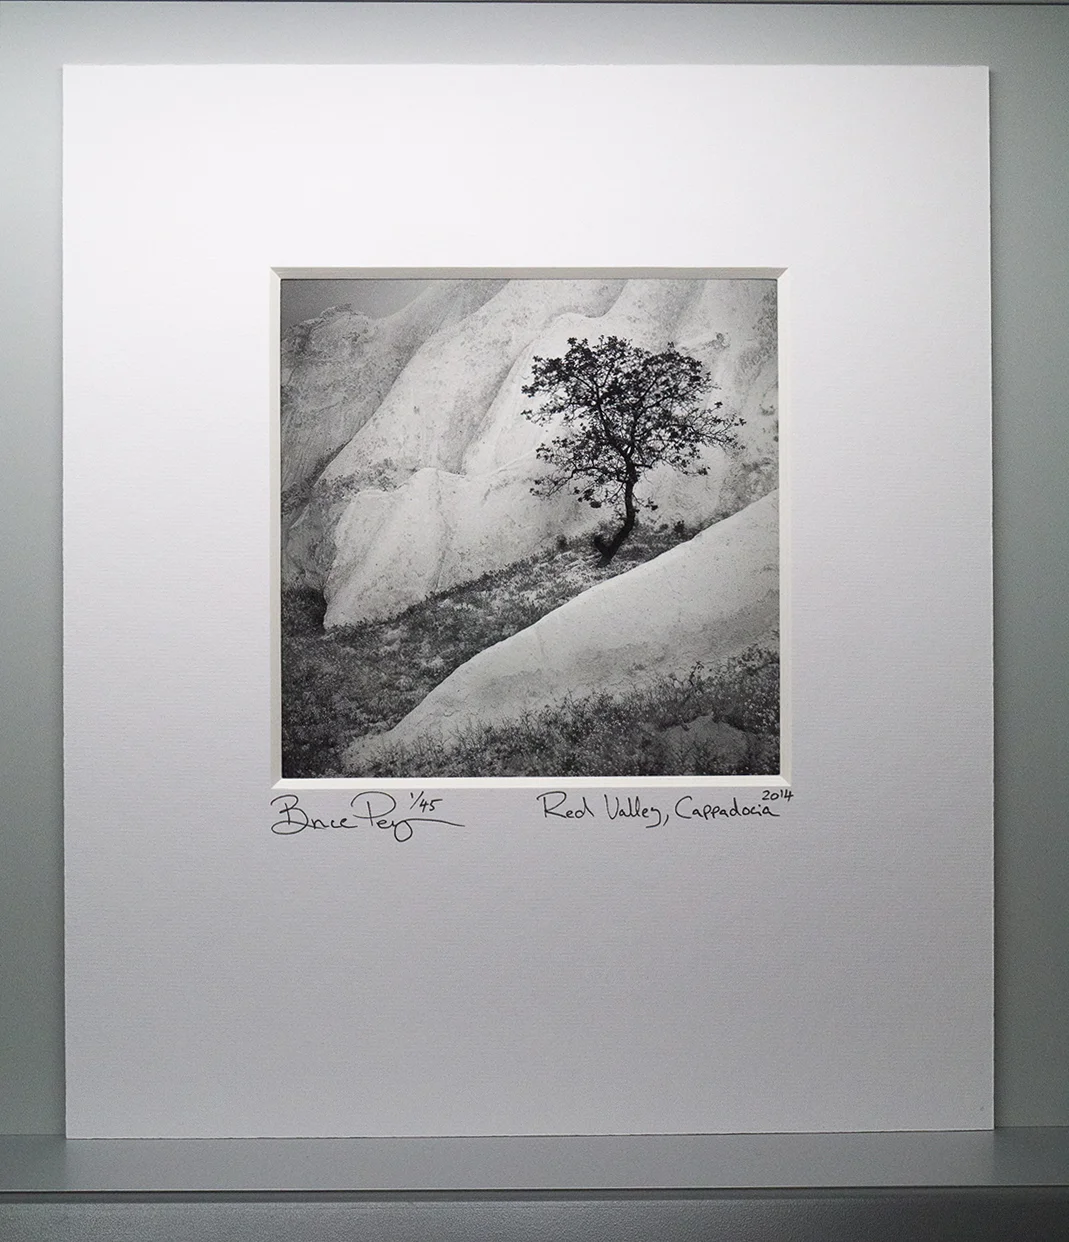
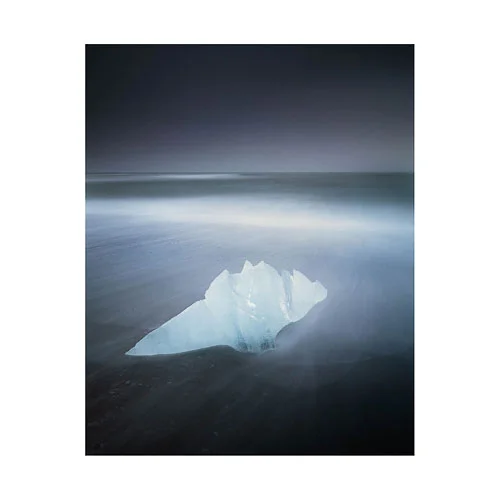
Printed on Museo Silver Rag paper, using Colourburst's RIP Print driver and Pixelgenius capture and output sharpeners
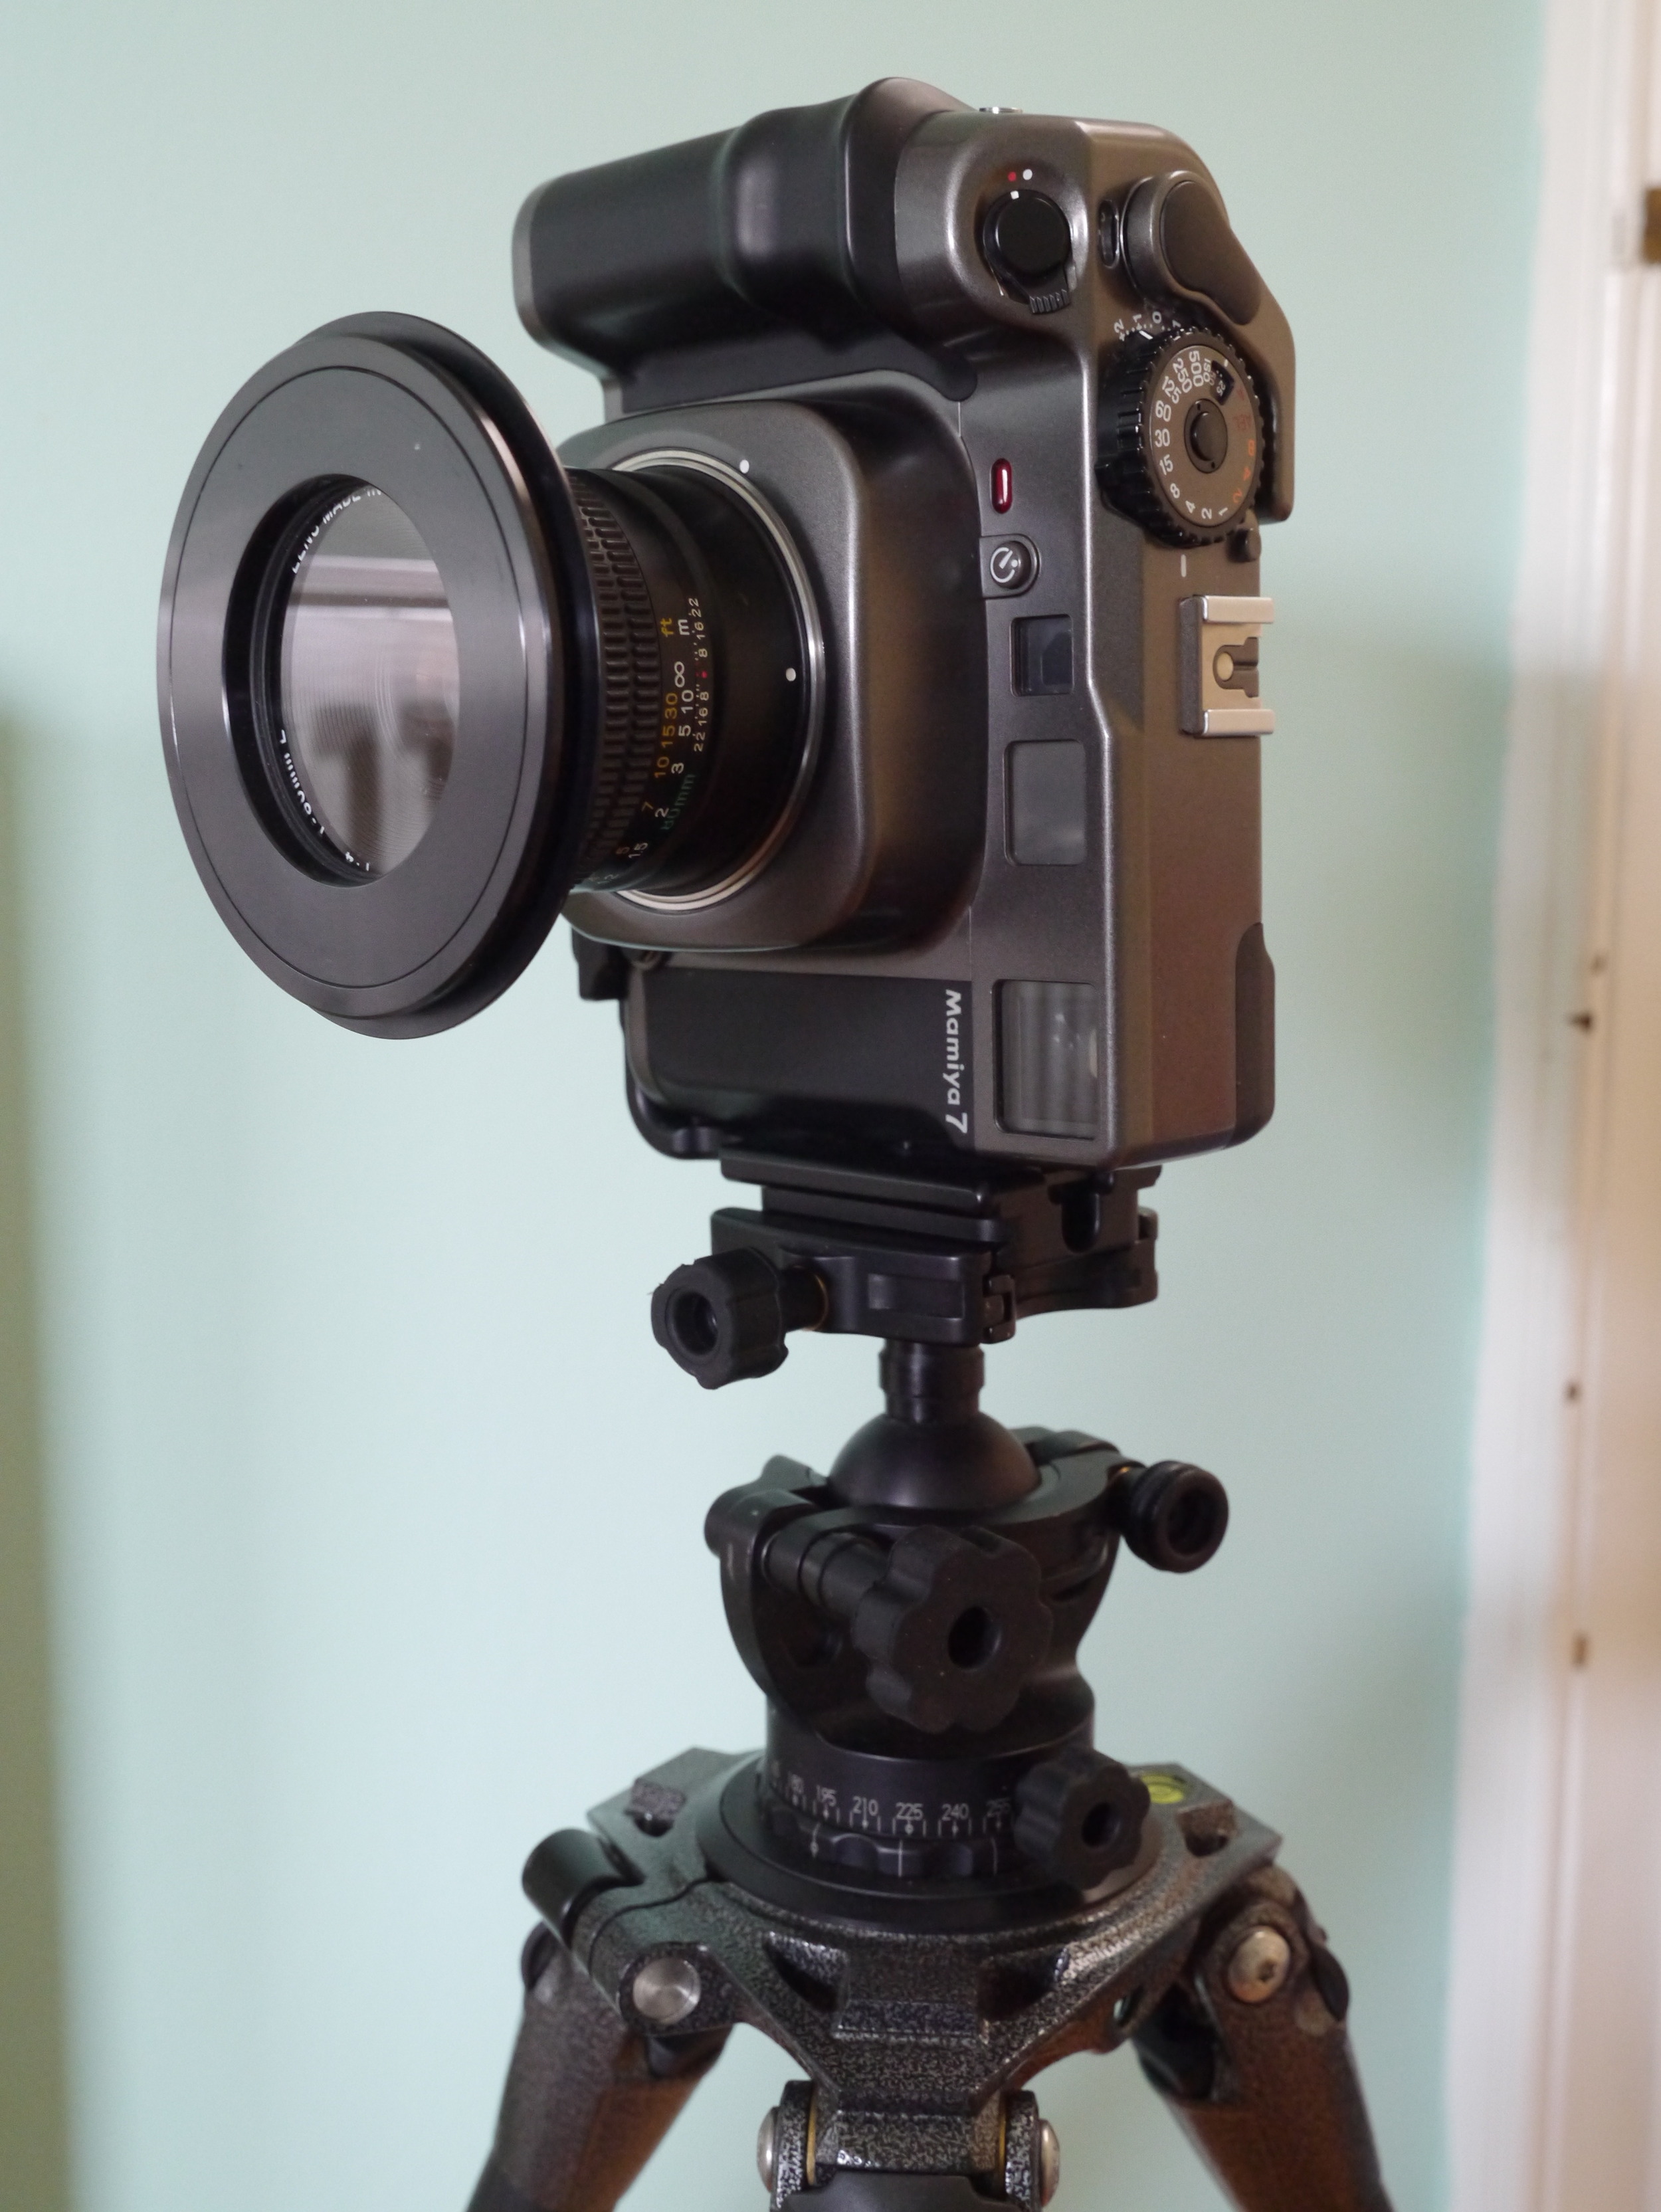
So I'd looked into using the John Cone system of loading up a dedicated Epson printer with monochrome ink sets. I really liked the sample prints I got from John, but I went ahead and used my own standard colour printer inks to do the monochrome print you see above. My feeling is that if you have a really well calibrated / profiled system, I think monochrome inks via the colour ink cartridges is really nice. I'm certainly happy with it and I would suggest if you are thinking of doing monochrome work with a colour printer, to use really good profiles, or as in my case - a dedicated RIP print driver.
When I looked into printing a few years back, I was amazed to discover that it is almost a religion for some and many people have different ways of tackling it. My system is very simple - I use BasICColour's Display 5 software to calibrate my monitor, and by using a RIP driver with good paper profiles installed, and suitable sharpening algorithms for the final print (I use Pixelgenuis' Sharpener toolkit), you can't go wrong. Oh, and of course you need a really good day-light viewing booth with which to evaluate the final prints.
The print you see above is my first monochrome print, and it's for my client and friend Stacey Williams, who is from Trinidad. Stacey will be on my Torridon workshop next weekend so I'll be delighted to hand her the print in person.
Printing is a very personal thing. The paper choices, how the work is presented are all personal decisions. But what sets a print apart from a computer screen is the fact that it's tangible, physical thing.
And with all tangible physical things, t's an extremely rewarding feeling to be able to actually give the work to whoever it was intended for :-)